For years I assumed the stunning aquascaped tanks I saw online had to cost hundreds of dollars more than my own setup. Then I actually priced out a few of those "expensive-looking" tanks and realized something surprising: most of them used cheaper materials than the cluttered, colorful tank I'd built as a beginner. The real difference wasn't the budget it was three specific styling choices that had nothing to do with how much was spent.
If you're working with a tight budget but still want your tank to look like it belongs in a design magazine, these three ideas are where to focus your energy. None of them require premium equipment or rare materials just a shift in how you approach color, space, and light. Each idea below includes a detailed image prompt so you can preview the effect before making any changes.
Why Some Tanks Look Expensive on a Budget
Expensive-looking aquariums rely on design principles borrowed from interior design and photography restrained color, intentional empty space, and dramatic lighting rather than on costly materials. A tank built with plain gravel, driftwood you found, and a basic LED light can easily out-style a tank filled with pricier but mismatched decorations, simply because it follows these principles more closely.
1. Stick to a Single Color Palette
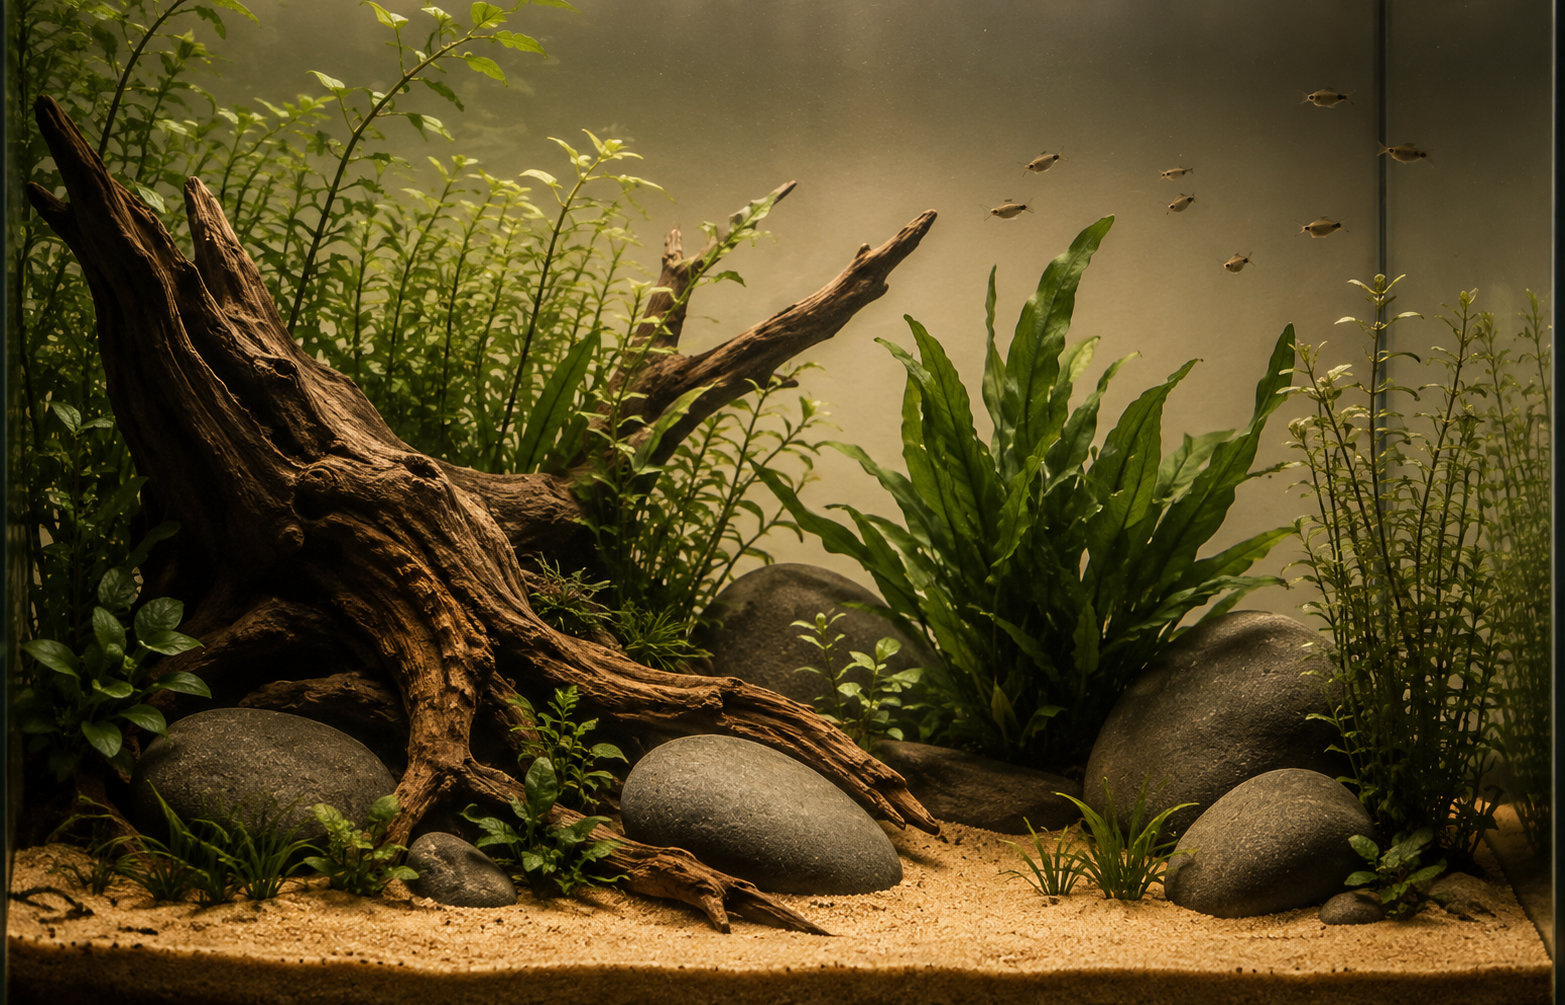
Nothing screams "budget tank" faster than mismatched neon gravel, a rainbow of plastic plants, and ornaments in five different colors all fighting for attention. The single easiest way to make a cheap setup look expensive is to commit to one color palette and apply it to everything substrate, rocks, background, and even your plant choices.
Neutral, earthy tones read as premium because they mimic how color is used in professional interior design: a base of warm sand or charcoal grey, paired with driftwood in matching brown tones, and greenery that provides the only real pop of color in the tank. This is the same reason high-end aquascaping photos you see online rarely include bright pink or electric blue gravel — the natural, restrained palette is what makes them look considered rather than assembled from a clearance bin.
You don't need to spend more to pull this off. A bag of plain natural gravel often costs the same as a bag of dyed gravel, and using rocks you already have in a matching tone costs nothing at all. The upgrade here is entirely about discipline in color choice, not about the price tag of any individual item.
2. Use Negative Space Like a High-End Aquascaper
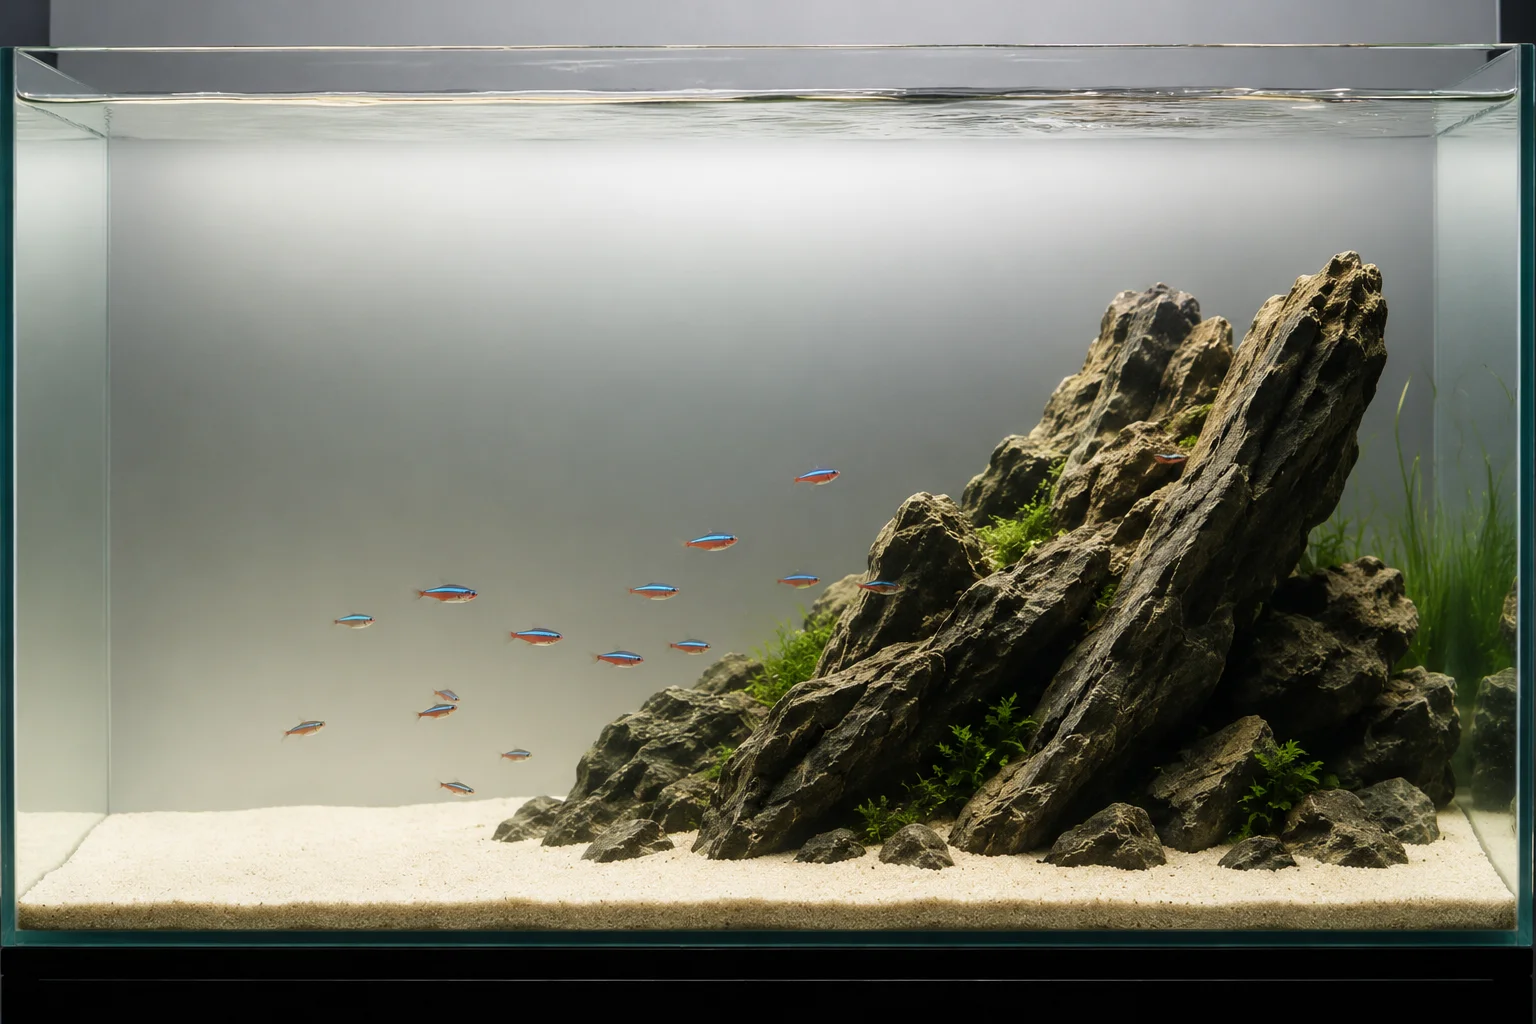
Expensive-looking tanks almost always have something in common: empty space. Professional aquascapers treat open water and bare substrate as part of the design, not as unfinished sections that need to be filled in. This is a strange idea for beginners, since the instinct is usually to keep adding decor until every inch feels "complete," but restraint is exactly what separates a showroom tank from a cluttered one.
To apply this at home, choose one or two hardscape elements a rock formation or a piece of driftwood and position them off-center, leaving roughly two-thirds of the tank open. That open water draws the eye toward your fish as they swim, which is ultimately the most dynamic, ever-changing part of the display anyway, rather than competing with a wall of static ornaments.
This idea costs nothing extra to implement; if anything, it usually means spending less on decor overall. The visual value comes entirely from the confidence to leave space empty, trusting that a few well-placed elements say more than a dozen scattered ones ever could.
3. Mimic Showroom Lighting With a Warm Spotlight Effect
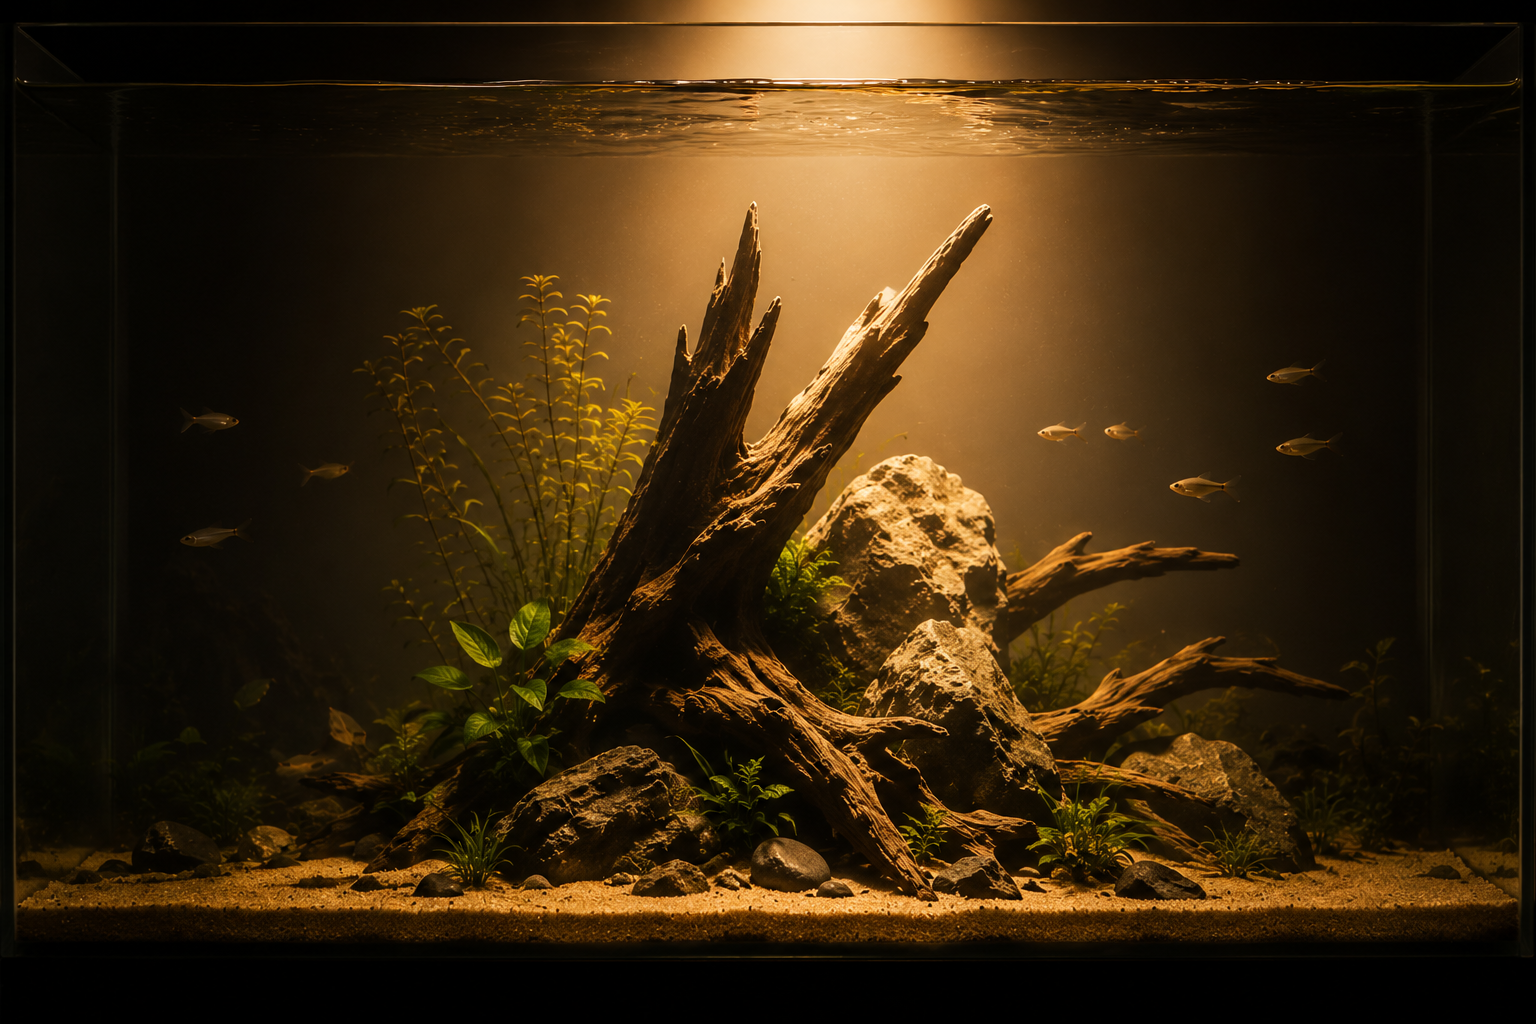
Walk through any high-end aquarium display at a public aquarium or aquascaping showroom, and you'll notice the lighting is rarely flat or overly bright. Instead, a focused, slightly warm spotlight highlights the centerpiece while the edges of the tank fall into soft shadow, creating the same kind of drama a museum uses to light a sculpture.
You can recreate this effect at home with an adjustable aquarium light angled toward your main focal point rather than spread evenly across the whole tank. Many affordable LED fixtures include a dimmer or spot-focus setting that achieves this without needing specialty equipment, and even positioning a single light slightly off-center instead of dead-center can add noticeably more depth and contrast.
This idea works especially well paired with the first two: a neutral color palette and thoughtful negative space both become far more striking once dramatic lighting highlights them properly. It's often the very last step that makes a tank look like it belongs in a magazine rather than a starter kit and it's usually just a matter of adjusting equipment you already own.
Extra Tips to Stretch Your Budget Further
- Buy plain, not dyed. Natural-colored gravel and sand are often the same price as dyed versions and instantly look more premium.
- Source driftwood carefully. Aquarium-safe driftwood found responsibly and properly cleaned can cost far less than store-bought pieces while looking just as good.
- Buy rocks in matching sets. Three or four rocks of the same type from one bag will always look more cohesive than a mixed assortment collected over time.
- Invest a little extra in lighting. Lighting has the biggest visual impact per dollar spent, so it's the one area worth prioritizing over more decor pieces.
Final Thoughts
A high-end-looking aquarium has far less to do with your budget than most beginners assume. Stick to one color palette, leave room for open water instead of filling every gap, and light your tank the way a showroom would with focus and warmth rather than flat brightness. Try these three shifts on your next setup, and you may find your "budget" tank getting compliments usually reserved for far pricier displays.
Frequently asked questions
Can a small tank still look expensive with these ideas?
Yes — in fact, these principles often work even better in small tanks, since a single color palette and one well-placed focal point are easier to achieve convincingly in a compact space.
What's the cheapest way to get better aquarium lighting?
Look for a basic adjustable LED fixture with a dimmer, rather than a fixed all-or-nothing light. Being able to angle and dim the light gives you far more styling control without needing an expensive high-end unit.
Does negative space mean my tank will look empty?
Not if it's balanced properly. The goal is intentional open space around one or two focal points, not an empty tank — fish swimming through that open water are part of the display, not a gap that needs filling.
